What Actually Happens During a Root Canal, Step by Step
A plain walkthrough of root canal treatment from numbing to the final restoration: what each stage involves and why it takes the time it does.
Very few dental procedures have a worse reputation than the root canal, and almost all of that reputation is inherited rather than earned. People repeat what they have heard, and what they have heard usually dates from a different era of dentistry or from someone else’s bad day.
The most effective antidote to that is not reassurance. It is detail. Knowing what happens, in order, tends to shrink the procedure back to its real size. This article walks through root canal treatment stage by stage. It is general information only and is not a substitute for a consultation with a qualified practitioner, since what your tooth needs depends on your tooth.
Why the treatment is needed at all
Inside every tooth is a chamber containing the pulp: nerve tissue and blood vessels. When that pulp becomes inflamed or infected, whether through deep decay, a crack, or trauma, the body cannot resolve it on its own. The pulp sits inside a sealed hard structure with almost no room to swell, which is why the pain can be so disproportionate to the size of the problem.
At that point there are broadly two ways forward: remove the pulp and keep the tooth, or remove the whole tooth. Root canal treatment is the first of those. It is not a repair of the nerve; it is the removal of it, followed by cleaning and sealing the space it occupied.
Step one: assessment and imaging
Before anything is done, the tooth is examined and imaged. X-rays show the shape and number of the roots, the extent of any infection at the tip, and how much sound tooth structure is left above the gum. That last point often decides the whole plan, because a tooth needs enough solid structure remaining to be restored afterwards.
Sometimes this stage produces an unwelcome answer: that the tooth is cracked below the gum, or too broken down to rebuild. It is better to find that out at the start than midway through.
Step two: numbing
Local anaesthetic is given and given time to work properly. This is the stage that most of the fear attaches to, and it is worth being direct about it: a tooth with an actively inflamed pulp can be harder to numb than a healthy one, which is exactly the situation in which most people present.
Practitioners have several ways to deal with that, including different anaesthetic techniques and simply allowing more time. The important part is that you say something if the area does not feel adequately numb. There is no prize for enduring it, and a dentist would far rather add more anaesthetic than have you sit through the appointment tensed up. We look at this in more depth in our article on whether a root canal hurts.
Step three: isolating the tooth
A rubber dam (a thin sheet that isolates the tooth being worked on) is placed. It keeps saliva out of the tooth, keeps the small instruments and irrigating solutions safely away from the rest of your mouth, and gives the dentist a clean, dry field.
Most people find the dam mildly odd for the first minute and then forget about it. A useful side effect is that you can swallow normally without anything going where it should not.
Step four: accessing and finding the canals
A small opening is made through the top of the tooth into the pulp chamber. The canals then have to be located, and this is the part that takes real time, because canal anatomy varies between people and between teeth. Molars may have three or four canals, sometimes more, and they can be narrow, curved or partly calcified.
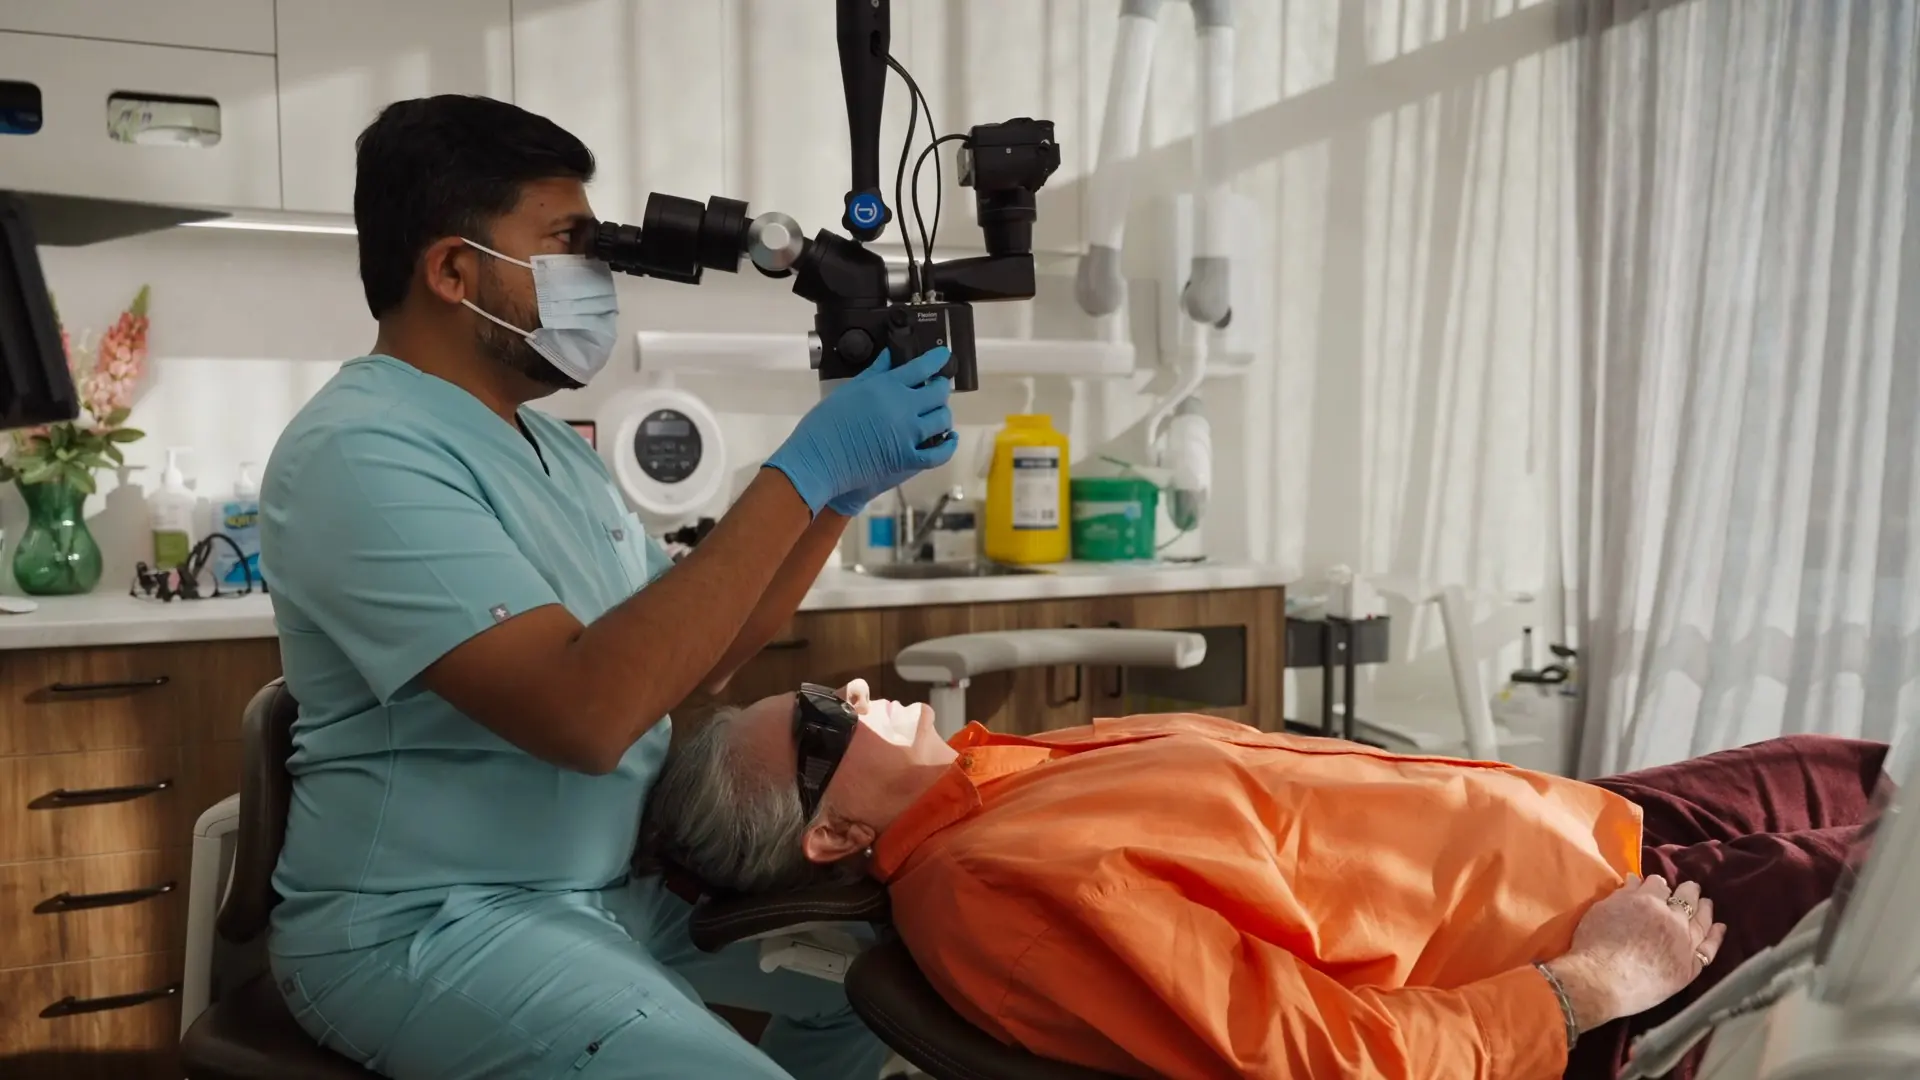
This is the stage where magnification earns its keep. Working under a dental operating microscope, as Dr Srikanth Karumuri does for most root canal cases at our Braddon practice, gives a much clearer view of the canal openings and the fine anatomy between them. Our article on why dentists use a microscope for root canal treatment explains what that view actually shows.
Step five: cleaning and shaping
Each canal is cleaned along its full length using fine instruments, and irrigated with solutions that flush out debris and disinfect the space. The canal is also shaped so that it can be filled predictably.
This stage is unglamorous and slow, and it is the substance of the treatment. Everything before it is preparation and everything after it is closing up.
Step six: filling and sealing
Once the canals are clean and dry, they are filled (most commonly with a rubber-like material called gutta-percha, combined with a sealer) to occupy the space and seal it against recontamination. A temporary or permanent filling then closes the access opening.
Depending on the tooth and the situation, this may happen at the same visit as the cleaning or at a second appointment. Our article on how many visits a root canal takes explains what drives that.
Step seven: restoring the tooth properly
This final stage is the one most often underestimated. A tooth that has had root canal treatment has lost structure (to whatever damaged it in the first place, and to the access opening), and less structure holding it together means a greater chance of fracture, particularly on a back tooth that takes heavy chewing load. It usually needs a substantial restoration (often a crown) to protect it from fracturing.
Skipping or indefinitely delaying that restoration is a common way for a technically successful root canal to end in a lost tooth. If a crown is recommended, our article on when a tooth needs a crown covers the reasoning, and the crowns and bridges page sets out what is involved.
How long the whole thing takes
Appointments for root canal treatment are generally longer than a routine filling (often an hour or more) because the cleaning stage cannot be rushed. For people working in Civic or around the Northbourne corridor, that usually means planning the appointment properly rather than squeezing it into a lunch break. Braddon and Civic both skew young and heavily rented, with median ages of 30 and 27 on the 2021 Census, and a working day is not always easy to interrupt. Early appointments from 7:30am can make that easier.
If sitting still for a long appointment is the difficult part rather than the treatment itself, sedation is worth raising when the plan is made. Options are explained on our sedation dentistry page and in our guide to the types of dental sedation compared.
Root canal treatment at Dental Embassy
Dental Embassy is on Northbourne Avenue in Braddon, close to Civic and the inner north. If you have been told you need root canal treatment, an assessment of the specific tooth is the place to start, including whether it is restorable and what the realistic options are.
You can read more on our root canal treatment page, call us on 1300 000 230, or get in touch to arrange a consultation.
Have a question about your own situation?
Book a consultation with the team at Dental Embassy in Braddon. We’ll assess your teeth, explain your options, and answer your questions before anything is decided.